
The Aprilaire thermostat offers advanced temperature control and energy efficiency. This guide provides step-by-step instructions for installing, configuring, and maintaining your thermostat. Proper installation ensures optimal performance and avoids potential issues.
1.1 Overview of the Aprilaire Thermostat
The Aprilaire thermostat is a state-of-the-art device designed for precise temperature control and energy efficiency. It features a dual power option, allowing it to operate on either AC or battery power, and includes a front battery door for easy replacement. The thermostat displays room temperature, temperature settings, and optional outdoor temperature readings; It is compatible with various HVAC systems and can be integrated with Aprilaire humidifiers for enhanced home comfort. With advanced features like Wi-Fi connectivity and a user-friendly interface, the Aprilaire thermostat offers a seamless experience for controlling your home’s climate.
1.2 Importance of Proper Installation
Proper installation of the Aprilaire thermostat is crucial for ensuring accurate temperature readings and optimal system performance. Incorrect wiring or setup can lead to issues such as inconsistent heating or cooling, higher energy bills, and potential damage to the device or HVAC system. Following the manufacturer’s guidelines ensures safety, efficiency, and longevity of the thermostat. Additionally, sealing wire entry holes prevents drafts that could interfere with temperature sensors, maintaining reliable operation. Proper installation also guarantees that all advanced features, including Wi-Fi connectivity and dual power options, function as intended, providing a seamless user experience and maximizing energy savings.
Preparation for Installation
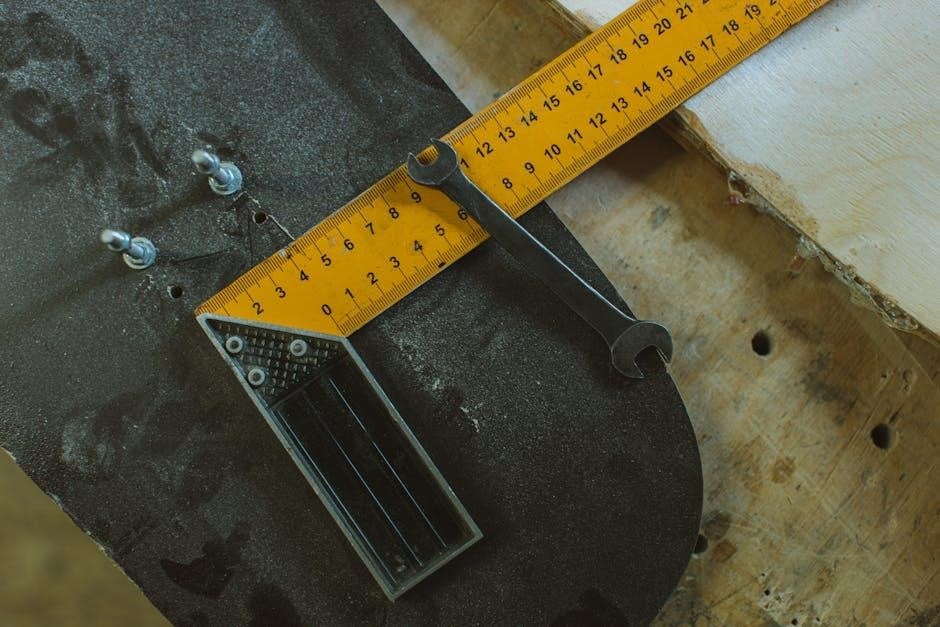
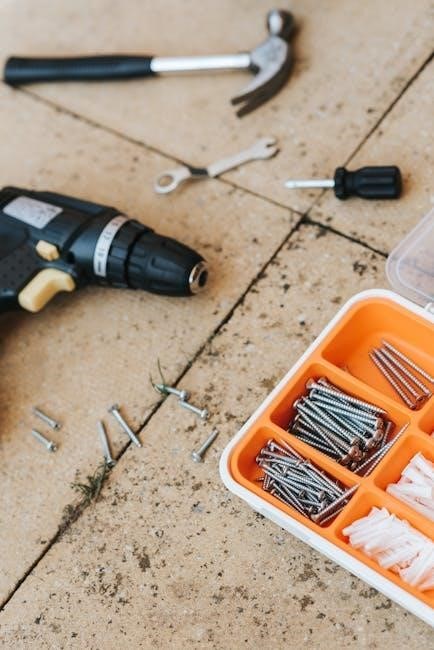
Gather tools like a screwdriver, voltage tester, and wire strippers. Ensure you have 18-24 gauge thermostat wire and refer to the wiring diagram for clarity.
2.1 Tools and Materials Needed
To install your Aprilaire thermostat, you’ll need a few essential tools and materials. Start with a screwdriver for removing the old thermostat and mounting the new one. A voltage tester is crucial to ensure the power is off before handling wires. Wire strippers will help prepare the thermostat wires for connections. Additionally, 18-24 gauge thermostat wire is required for the installation. Make sure to have all these items ready to streamline the process and avoid delays. Proper preparation ensures a smooth and safe installation experience.
2.2 Understanding the Thermostat Wiring Diagram
Reviewing the thermostat wiring diagram is essential for a successful installation. The diagram outlines the connections between the thermostat and your HVAC system. Identify the wires corresponding to the R, C, W, Y, and G terminals. The O/B terminal is configurable for heat pumps or standard systems. Ensure all wires match their designated terminals to avoid malfunctions. Refer to the Aprilaire manual for specific wiring instructions tailored to your model. Proper wiring ensures safe and efficient operation of your thermostat and HVAC system. Double-check connections before powering up the system to prevent damage or safety hazards. This step is critical for optimal performance.
2.3 Checking System Compatibility
Before installation, ensure your HVAC system is compatible with the Aprilaire thermostat. Verify the system type (e.g., forced air, heat pump, or dual fuel) and its voltage requirements. Check the wiring compatibility, as most Aprilaire models require 18-24 gauge thermostat wire. Dual power options (AC or battery) must align with your system. Refer to the Aprilaire manual for specific model compatibility. Incompatible systems may lead to malfunctions or reduced performance. Proper compatibility ensures reliable operation and optimal energy efficiency. Always confirm specifications before proceeding with installation to avoid potential issues. This step is crucial for a seamless setup and long-term functionality.
Step-by-Step Installation Guide
Mount the thermostat, connect wires according to the diagram, and configure the O/B terminal. Follow manual instructions for wiring and setup to ensure proper functionality and safety.
3.1 Mounting the Thermostat
Begin by selecting a location for the thermostat, ensuring it’s away from drafts and direct sunlight. Shut off the power supply to the HVAC system before starting. Use the provided wall anchors and screws to secure the mounting bracket to the wall. Carefully attach the thermostat to the bracket, ensuring it’s level and securely fastened. If necessary, seal any unused wire entry holes to prevent air leaks. Refer to the manual for specific mounting instructions and safety precautions to ensure a proper installation.
3.2 Connecting the Thermostat Wires
Connect the thermostat wires to the appropriate terminals, ensuring the system is powered off. Use 18-24 gauge wires, as specified in the manual. Match the wires to their corresponding terminals (e.g., R, W, Y, G, C) based on your HVAC system. Secure the connections firmly to avoid loose wires. If your system requires it, configure the O/B terminal according to the manual’s instructions. Double-check all connections before restoring power. Proper wiring ensures safe and efficient operation of the thermostat. Refer to the wiring diagram in the manual for specific guidance tailored to your Aprilaire model.
3.3 Configuring the O/B Terminal
Locate the O/B terminal on your Aprilaire thermostat, designed to function as either an O (for heat pumps) or B terminal. Set the terminal according to your HVAC system requirements using the switch or configuration method outlined in the manual. Proper configuration ensures correct operation of the heating and cooling systems; Refer to the wiring diagram for specific instructions. Incorrect settings may lead to system malfunctions, so double-check the configuration before proceeding. If unsure, consult the manual or contact a professional for assistance. This step is crucial for ensuring the thermostat operates in harmony with your HVAC system.
Wi-Fi Setup and Connectivity
Connect your Aprilaire thermostat to a Wi-Fi network for smart home integration. Follow the manual’s instructions to link the device and register it to your Aprilaire account.
4.1 Connecting the Thermostat to a Wi-Fi Network
To connect your Aprilaire thermostat to a Wi-Fi network, navigate to the Wi-Fi settings in the thermostat menu. Select your network from the list and enter the password. Ensure the thermostat is in pairing mode and follow on-screen prompts to complete the connection. Refer to the manual for detailed instructions. Once connected, the thermostat will link to your home network, enabling remote control and smart features; Ensure your router is compatible and functioning properly for a stable connection. If issues arise, restart the thermostat and router or consult the troubleshooting section.
4.2 Registering the Thermostat to an Aprilaire Account
After connecting your thermostat to Wi-Fi, register it to an Aprilaire account for remote access and advanced features. Open the Aprilaire app, create an account, and log in. Select “Add Device” and enter the registration code from your thermostat. Follow the in-app instructions to complete the process. Ensure your thermostat is connected to Wi-Fi and properly configured. Registration allows you to control settings, receive notifications, and access energy usage reports. Refer to the Owner’s Manual or Aprilaire support for assistance if needed.
Advanced Features and Configuration
Explore advanced features like outdoor temperature sensors and dual power options for enhanced functionality. Configure settings to optimize energy usage and system performance efficiently.
5.1 Setting Up the Outdoor Temperature Sensor
The outdoor temperature sensor enhances your thermostat’s functionality by providing real-time temperature data. To install, attach the sensor to the S1 and S2 terminals on the thermostat. Ensure the sensor is placed in a shaded area, avoiding direct sunlight and moisture, for accurate readings. This setup allows the thermostat to adjust heating and cooling based on external conditions, improving efficiency and comfort. Follow the manufacturer’s guidelines for proper placement and wiring to ensure optimal performance and integration with your Aprilaire system.
5.2 Enabling Dual Power Options
The Aprilaire thermostat supports dual power options, allowing it to function with either AC power or battery power. To enable this feature, ensure the O/B terminal is configured correctly. For heat pumps, set the terminal as an O terminal, while other systems may require it as a B terminal. This configuration ensures reliable operation and maintains optimal performance. Dual power functionality enhances flexibility and provides a backup power source during outages, keeping your system running smoothly. Refer to the manual for specific wiring instructions to activate this feature properly.
Troubleshooting Common Issues
Common issues include Wi-Fi connectivity problems, display malfunctions, and wiring errors. Check connections, reset the thermostat, or perform a factory reset to resolve most problems effectively.
6.1 Resolving Wi-Fi Connection Problems
Wi-Fi connection issues can prevent your Aprilaire thermostat from functioning properly. Start by ensuring your router is working and the thermostat is within range. Restart both devices to reset the connection. Check the network name and password, ensuring they are entered correctly. If issues persist, perform a factory reset by pressing and holding the reset button under the battery cover for 5-10 seconds. This will restore default settings. Re-register the thermostat to your Aprilaire account through the app or website. Consult the manual or contact support if problems continue. Proper connectivity is crucial for remote access and smart features.
6.2 Performing a Factory Reset
To perform a factory reset on your Aprilaire thermostat, locate the reset button under the battery cover. Press and hold it for 5-10 seconds until the display resets. This action restores all settings to their default values, including temperature settings and Wi-Fi configurations. Note that a factory reset does not clear the thermostat’s account information from the Aprilaire Wi-Fi system. After resetting, you will need to reconfigure your settings and reconnect to your Wi-Fi network. This process is useful for resolving persistent issues or preparing the thermostat for a new setup. Always refer to the manual for detailed instructions.

Maintenance and Upkeep
Regular maintenance ensures optimal performance of your Aprilaire thermostat. This includes replacing batteries, sealing wire entry holes, and cleaning the unit to prevent dust buildup and ensure accurate temperature readings.
7.1 Replacing the Batteries
To replace the batteries in your Aprilaire thermostat, first ensure the system is powered off to avoid any electrical issues. Locate the battery compartment, usually found on the front or side of the thermostat. Open the compartment by sliding it downwards or pressing the release button, depending on the model. Remove the old batteries and dispose of them properly. Insert the new batteries, making sure to align the positive and negative terminals correctly. Close the compartment securely and turn the power back on to test functionality.
7.2 Sealing Wire Entry Holes
Sealing wire entry holes is crucial to prevent drafts and moisture from affecting your Aprilaire thermostat’s performance. Use silicone sealant or foam gaskets to cover any gaps around the wires. Start by inspecting the wire entry points for any visible openings. Apply a small amount of sealant directly to the gaps, ensuring a tight seal without obstructing the wires. This step helps maintain accurate temperature readings and prevents potential electrical issues. Proper sealing also enhances energy efficiency by minimizing air leakage. Regularly inspect and reseal these areas if necessary to uphold your system’s integrity and performance.
No Responses